Assigning ingredients
Once you have ingredients in your library, you can assign them in two ways:
- Kernl app → Products — best when you are working through many products at once
- Shopify admin product page — add the Kernl Ingredients block while you are already editing a product
Either method updates the same data. Assigned ingredients show on the storefront through the Kernl theme block (see Customising the block).
From the Kernl app (Products page)
Assigning ingredients to a product
- Open the Kernl app in Shopify admin and go to Products.
- Find the product you want to update.
- Click Assign Ingredients next to the product title.
- In the modal, click to select one or more ingredients — selected ingredients are highlighted — then click Save Changes.
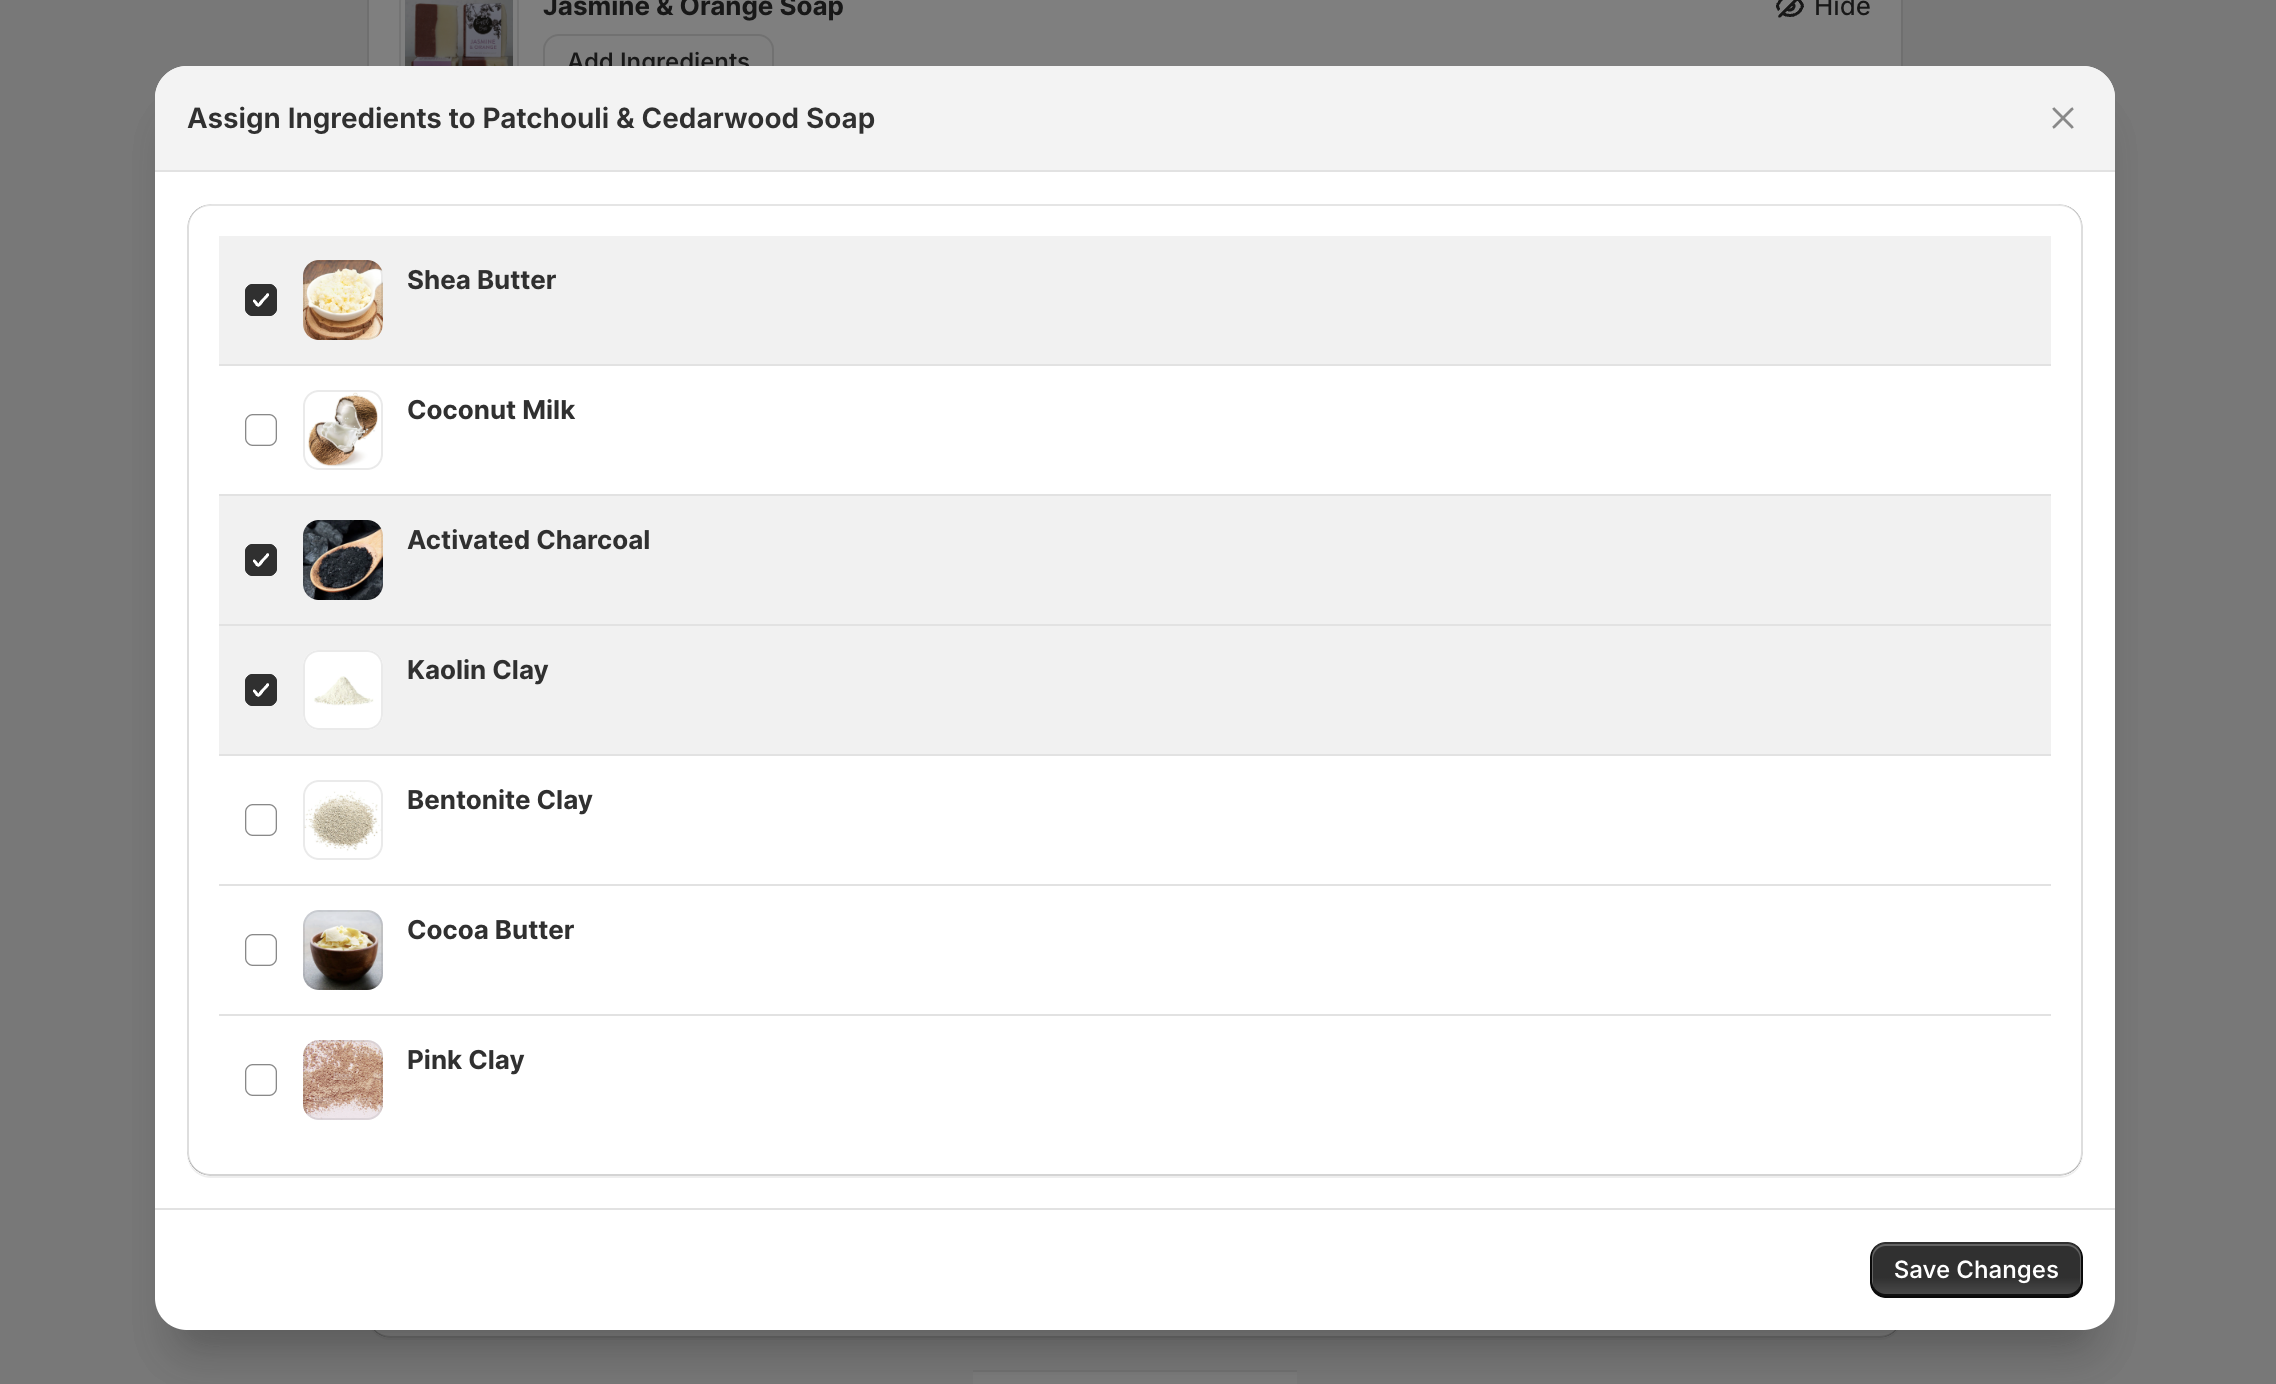
The modal closes and the selected ingredients appear as tags on the product row. You can assign the same ingredient to as many products as you like.
Products with multiple variants
If a product has more than one variant, you can choose whether all variants share a single ingredient list or each variant has its own. This option does not appear for single-variant products.
Choose the mode that matches how your product is formulated.
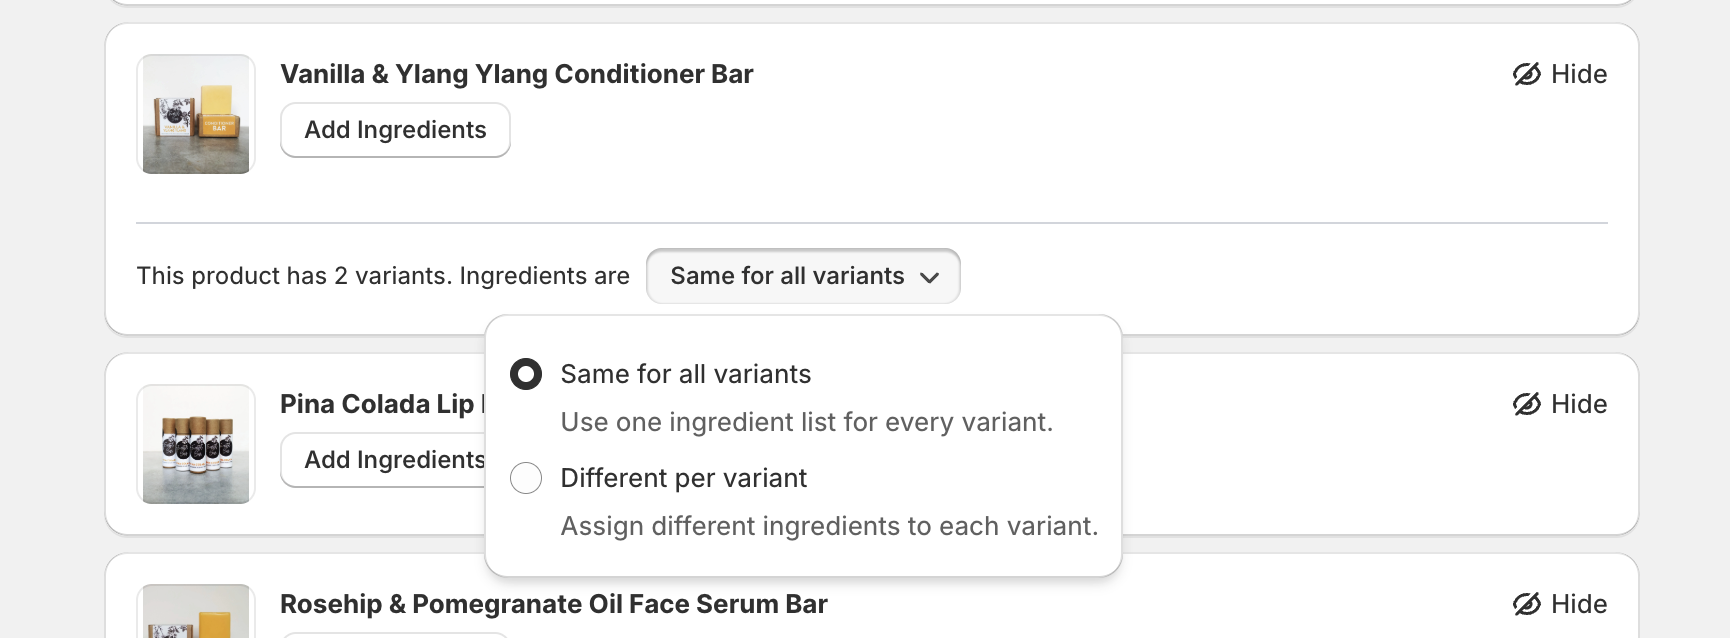
Product level: same list for every variant
Best when: Every variant shares the same ingredients — for example, one recipe, size-only variants, or colour options that don’t change what’s inside.
What happens on the storefront: The theme block shows one ingredient list for the product. It does not change when the customer picks a different variant.
How to assign:
- Find the product in the list.
- Make sure the mode is Same for all variants (see Switching between modes below).
- Click Assign Ingredients next to the product title.
- In the modal, select one or more ingredients, then click Save Changes.
The modal closes and the selected ingredients appear as tags on the product row.
Variant level: a different list per variant
Best when: Variants need different ingredients — for example, different flavours, scents, formulas, or bundles where the contents change per option.
What happens on the storefront: The theme block shows the ingredient list for the variant the customer has selected. When they change variant, the list updates to match.
How to assign:
- Set the mode to Different per variant (see Switching between modes below). The product-level Assign Ingredients button is replaced by per-variant controls.
- Click Show variants to expand the variant list.
- For each variant, click Edit Ingredients, pick ingredients in the modal, and click Save Changes.
You’ll see a short summary showing how many variants have at least one ingredient configured — use that to confirm you’ve covered every variant you care about.
Switching between modes
Steps:
- On the product card, find the line showing the current mode.
- Click the button that displays either Same for all variants or Different per variant.
- In the popover, choose your preferred mode.
- The app saves your choice and updates Shopify so the storefront knows which level to use.
Note: Changing the mode does not automatically copy ingredients from the product list onto every variant, or merge variant lists back into the product list. After you switch:
- To variant mode: Configure each variant that should show ingredients — they may start with no ingredients until you assign them.
- To product mode: Use Assign Ingredients on the product again so the shared list is what you want customers to see.
Your previous assignments are kept in the app where they still apply; what customers see follows the current mode and the corresponding product or variant data.
Finding a product
If you have a large catalogue, use the filters at the top of the product list to narrow things down:
- Search — Find products by name or type
- Collection — Filter to a specific collection
- Product type — Filter by product type
- Has ingredients / No ingredients — Useful for finding products you haven’t set up yet
- Hidden products — Show or hide products you’ve marked as hidden (see Hiding products)
Hiding products
If part of your catalogue will never need an ingredient list, those products can clutter the list while you’re working through setup.
On any product card, use Hide in the top corner (next to the eye icon). The product drops out of the default list so you can focus on what still needs work. Hiding is only for Kernl’s product list — the product stays in Shopify and on your storefront as usual.
To see hidden products again, open the Hidden products filter at the top of the page and turn on Show hidden products. Hidden items appear in the list so you can review them, assign ingredients, or unhide them. Turn the option off or use Clear in the filter when you’re done.
Updating ingredients
- Product level: Click Edit Ingredients on the product row. The modal opens with current selections highlighted. Add, remove, or change selections, then Save Changes.
- Variant level: Click Edit Ingredients on the variant row you want to change, then save.
Removing ingredients
Remove one ingredient without opening the modal: Click the ✕ on the ingredient tag on the product or variant row. The ingredient is removed immediately.
Remove all ingredients: Open Edit Ingredients on the product or variant, deselect everything in the modal, and click Save Changes.
Automatic sync
Products are linked to your ingredient library — not copies of ingredient fields. When you change an ingredient on the Ingredients page — its details, image, order, or by deleting it — every product that uses it updates on the storefront, usually within a few seconds. You only ever need to edit an ingredient once.
From the Shopify product page (admin block)
You can add a Kernl Ingredients block directly on a product in Shopify admin. This is an alternative to opening the Kernl app’s Products page.
Add the block
- In Shopify admin, go to Products and open the product you want to update
- Scroll to the Blocks section on the product page
- Click + Block
- Choose Kernl Ingredients
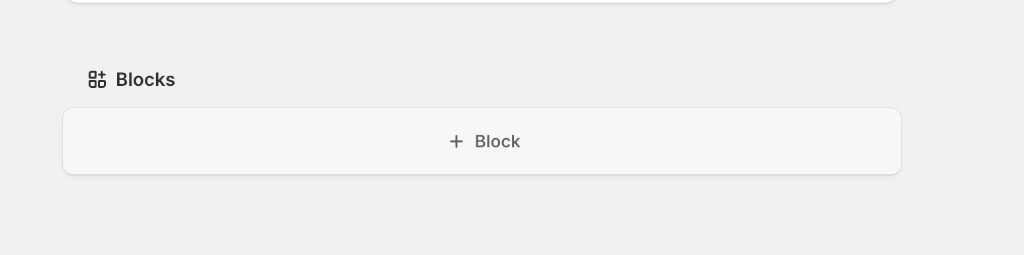
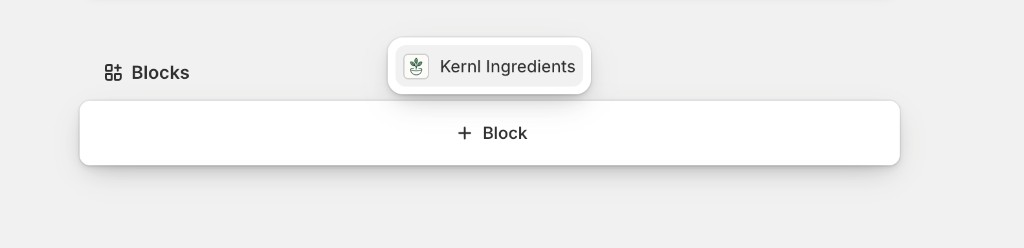
The block is saved on that product’s admin layout. You only need to add it once per product (or pin it so it stays visible on all products — see Shopify’s block pinning if you use that).
Assign ingredients in the block
- In the Ingredients block, click Edit ingredients
- In the picker, select one or more ingredients from your library, then confirm your selection
- Assigned ingredients appear as chips in the block. Use the ✕ on a chip to remove a single ingredient without reopening the picker
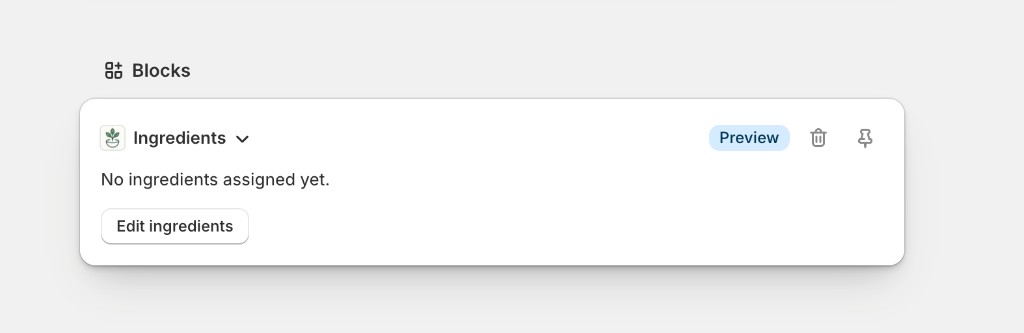
Until you assign at least one ingredient, the block shows No ingredients assigned yet.
Variant-level products: If the product uses Different per variant in Kernl, the product-level block explains that ingredients are managed per variant. Open a variant’s detail page and add the Kernl Variant Ingredients block there, or assign from the Kernl app’s Products page (see Variant level above).
Tips
- After large changes, ingredients may take a few seconds to appear on your live storefront.
- Make sure the Kernl block is added to your product template where shoppers can see it — without it, ingredients won’t display regardless of your assignments. Variant-level lists also depend on the selected variant in the product form.
For theme layout and block settings, see Customising the block.